Your Creator Dashboard
Manage your claimed podcasts and bundles from one place.
Your Creator Dashboard lives at /dashboard — once you've claimed a podcast, it's where you land when you sign in. It's organised into three tabs — Content, Sales analytics, and Listener demographics. This guide covers the Content tab, where you manage your podcasts and bundles.
Claimed Podcasts
At the top of the Content tab you'll see a card for every podcast you've claimed on Pony Up. Each card shows:
- Your podcast name and artwork
- An Approved or Pending badge — pending claims are usually reviewed within 48 hours
- The date you submitted the claim
Each card gives you up to three actions, depending on approval status:
View opens your public storefront page — the page your listeners see when they visit your Pony Up URL. Use this to check how your podcast looks to buyers.
Edit takes you to the podcast settings page where you can update your name, description, homepage URL, contact email, social links (Twitter/X, Instagram, YouTube, TikTok, Facebook, LinkedIn, website, newsletter), and theme colour. Changes are reflected on your storefront immediately.
Upload Bundle appears once your claim is approved. It jumps straight into the bundle upload wizard for that specific podcast — handy when you've got multiple shows and want to skip the podcast selection step.
If your claim is still pending, you'll see a banner at the top of the dashboard letting you know. You can still prepare bundles while you wait, but they won't be visible to listeners until the claim is approved.

Your Bundles
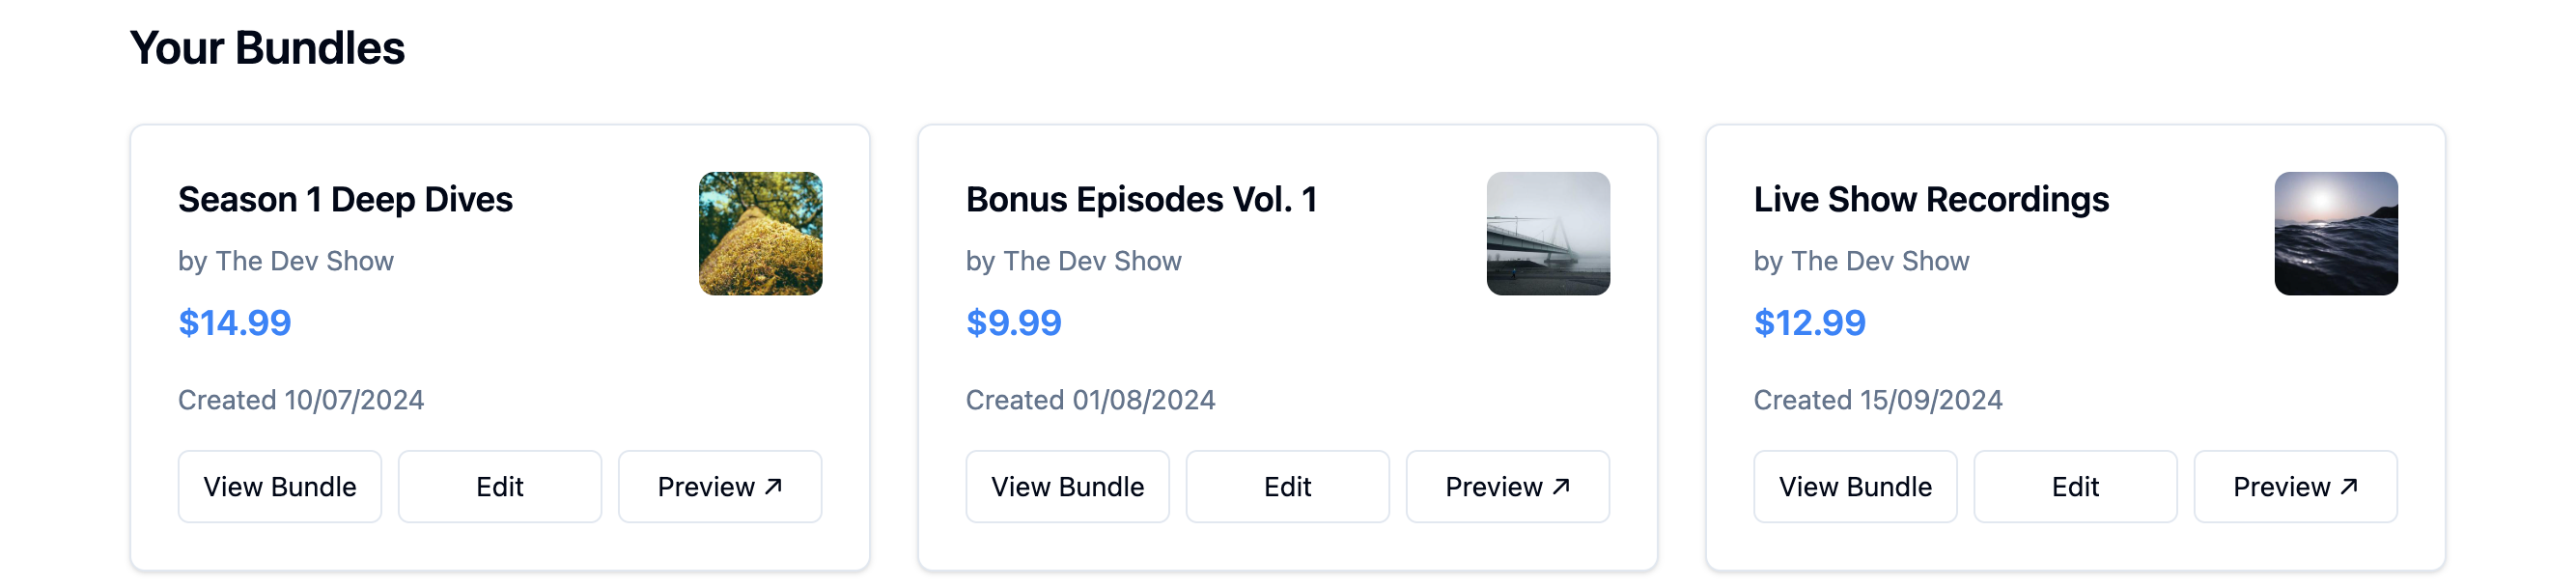
Below your podcasts, the dashboard lists every bundle you've created across all your shows. Each bundle card displays:
- The bundle title
- Which podcast it belongs to (shown as "by Podcast Name")
- The price you've set
- The date it was created
- View, Edit, and Insights actions — View opens the bundle's storefront page as listeners see it, Edit opens its details and episodes for changes, and Insights shows that bundle's performance
Bundles are displayed in a grid, so as you create more content you'll be able to scan them at a glance. If you've claimed multiple podcasts, bundles from all of them appear here together.
Creating new content
To create a new bundle, click the Upload Bundle button on any approved podcast card. You'll add a bundle title, description, artwork, price, and URL. After that, drag and drop your episode audio files — you can set a title, description, and order index for each episode. Tick the box to confirm you hold the rights to the content, then click Create Bundle and your bundle is live instantly.
To claim another podcast, look for the + Claim New Podcast card at the end of your podcasts row. You can claim as many podcasts as you like — each gets its own storefront URL and its own bundles.
Tips
Keep your storefront fresh. Use the Edit button to update your bio and social links whenever they change. Listeners who land on your storefront from a bundle link will see your full profile — make sure it represents you well.
Name bundles clearly. Your bundle titles appear on the dashboard, on your storefront, and in the listener's purchase history. Descriptive titles like "Season 1: Deep Dives" or "Masterclass: Monetise Your Mic" tell listeners exactly what they're getting.